
When you’re out on the water, having a reliable means of communication is paramount to ensure safety and effective coordination with other vessels or emergency services.
Your VHF (Very High Frequency) radio is a crucial tool for maritime communication, but like any piece of equipment, it requires regular checks to ensure it functions properly when you need it the most. In this article, we’ll guide you through the steps to test your VHF radio onboard and ensure its reliability for your next boating adventure.
Steps to Test and Troubleshoot VHF Radio Onboard Ship
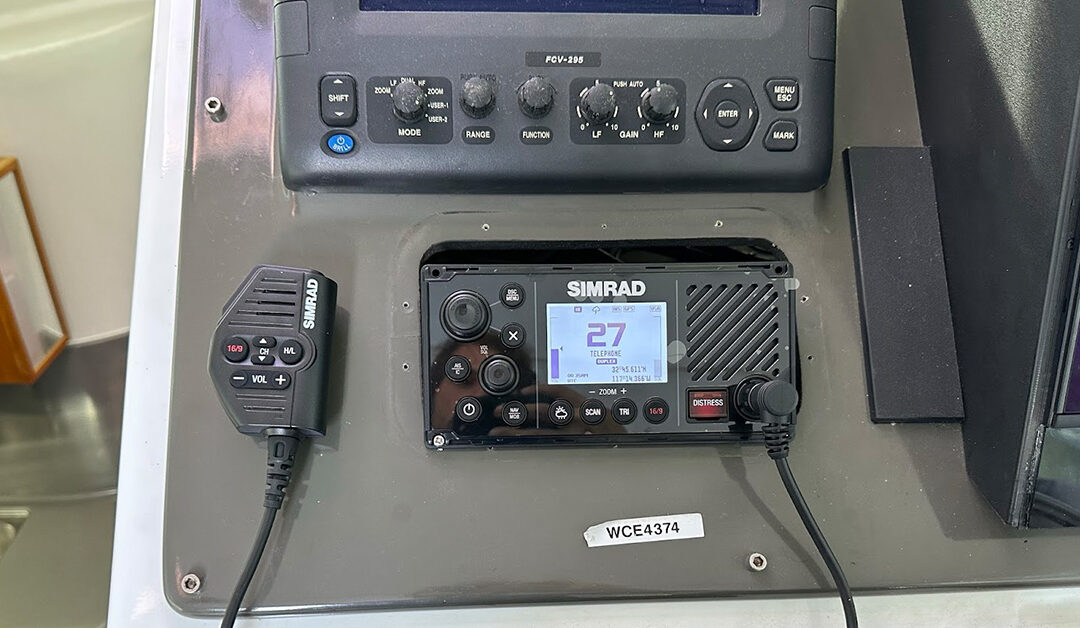
1. Visual Inspection
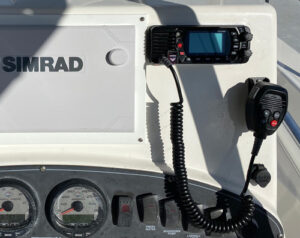 Before diving into functional tests, start with a visual inspection of your VHF radio. Check the back of the unit for proper connections and look for any signs of corrosion. Corroded connections can lead to poor performance or even complete failure of the radio. Make sure all cables are securely connected, and if you notice any corrosion, clean it using a suitable electronic contact cleaner and a soft cloth.
2. Power Up and Display Check
Turn on your VHF radio and check if the display is functioning correctly. Ensure that the buttons and knobs are responsive. If you notice any anomalies like flickering displays or unresponsive buttons, it might be an indicator of an internal issue that needs attention.
3. Antenna Inspection
Antenna Inspection A properly functioning antenna is crucial for effective communication. Visually inspect the VHF antenna for any visible damage, such as cracks, bends, or signs of wear. One major piece that always goes first is the antenna wire, the small length of wire extending from the bottom of the antenna to the vessel before going into the vessel can get damaged from the elements, check this wire for cracking, corrosion or stiffness. If you spot any damage, consider replacing the antenna before your next trip.
4: Check Channel Selection
Modern VHF radios offer various channels for different purposes. For general communication, channel 16 is the international distress and calling channel. However, for testing purposes, switch to channel 68 or 72 – commonly used channels for radio checks. Remember to switch back to channel 16 after testing.
5. Perform Range and Radio Checks
Radio checks help you assess the effectiveness of your communication over the VHF radio.
Follow these steps to check VHF Radio:
1. Press the designated button to transmit (usually labeled “PTT” or “Push to Talk”).
2. Clearly announce your vessel’s name followed by “radio check” on the selected channel. For example, “This is [Your Boat Name] requesting a radio check on channel 68.”
3. Release the transmit button and wait for a response.
4. If the transmission is clear and audible, you should hear a call back stating they hear you clearly and their location so that you can get an estimation of your signal range.
5. If you don’t hear a call back you may try channel 72 or any other ship to ship channel, also ensure you do this radio check during the day, late morning is when we find it works the best.
Regularly testing your VHF radio onboard is a crucial practice for any boat owner. By following these steps and performing routine checks, you can ensure that your VHF radio is reliable and ready for your next maritime adventure. Remember that communication is key when you’re on the water, and a well-maintained VHF radio can be your lifeline in times of need.
Contact Us for More VHF Troubleshooting Support
We are available to help troubleshoot all marine electronics issues.
Reach out and let’s discuss how we can fix your boat.